


[/column] [column md=“6″ ]
„It’s all about the light“ –
|
At my first trainee-ship at a photograph, the photograph asked me: „what is the most elementary element of photography. I had no idea, but today I know it. IT’S ALL ABOUT THE LIGHT. Without light, you can’t make a picture. If you can set a professional light set up than you can make great pictures with the cheapest camera and the really hard to learn in photography is not to understand the camera, it’s to control the light. If I got too much light I will overexpose pictures, if I have only one hard light I will get shadows of black. With too less light I get a blurry picture because the exposure time is too long or the picture gets noisy because of the ISO. Well about the Topic light you can write a lot of books, but this tutorial is for beginners and I will give some tips for better light set up:
[/column] [/row][row] [column md=“6″]
Photography Tips
|
[/column] [column md=“6″]

[row] [column md=“12″ ]
Photography Tips
|
[/column] [/row]
[row] [column md=“4″ ] 
[/column] [column md=“4″ ] 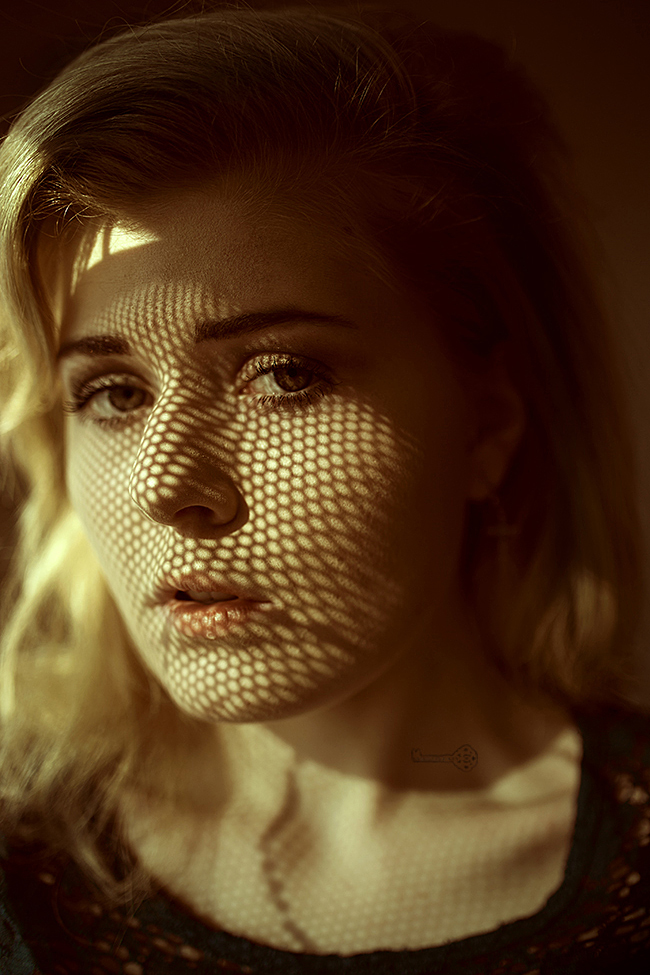
[/column] [column md=“4″ ] 
[/column] [/row]
[row] [column md=“6″ ]
Photography Tips
|

[/column] [column md=“6″ ]

[/column] [/row]
[row] [column md=“12″ ]
Photography Tips
|
[/column] [/row]
[row] [column md=“6″ ] 
[/column] [column md=“6″ ] 
[/column] [/row]
[row] [column md=“12″ ]
How do you like this article? 🙂
XX, Nico Treeman
[/column] [/row]
[row] [column md=“12″]
Do you already know?
[/column] [/row] [row] [column md=“6″]Romantica – Photo Story by Christina Key

Create amazing photo effects with simple household items:

Do you already know?
[/column] [/row] [row] [column md=“6″]Outdoor sports Potoshooting

The little black dress


